
On this page
Bots on the internet try passwords on Remote Desktop all day. These steps make Remote Desktop on your VPS harder to find, harder to reach and harder to guess. Do them in this order. Each step takes a few minutes in your QuantVPS dashboard.
Steps 2 to 5 use QuantVPS Detect+ on a Windows VPS. To open its Remote Desktop pages:
- Sign in to your QuantVPS dashboard. If you have more than one VPS, choose it in the Selected server menu at the top.
- Click Detect+ in the sidebar.
- In the Detect+ menu, click Remote Desktop. Under it are Security and Settings.
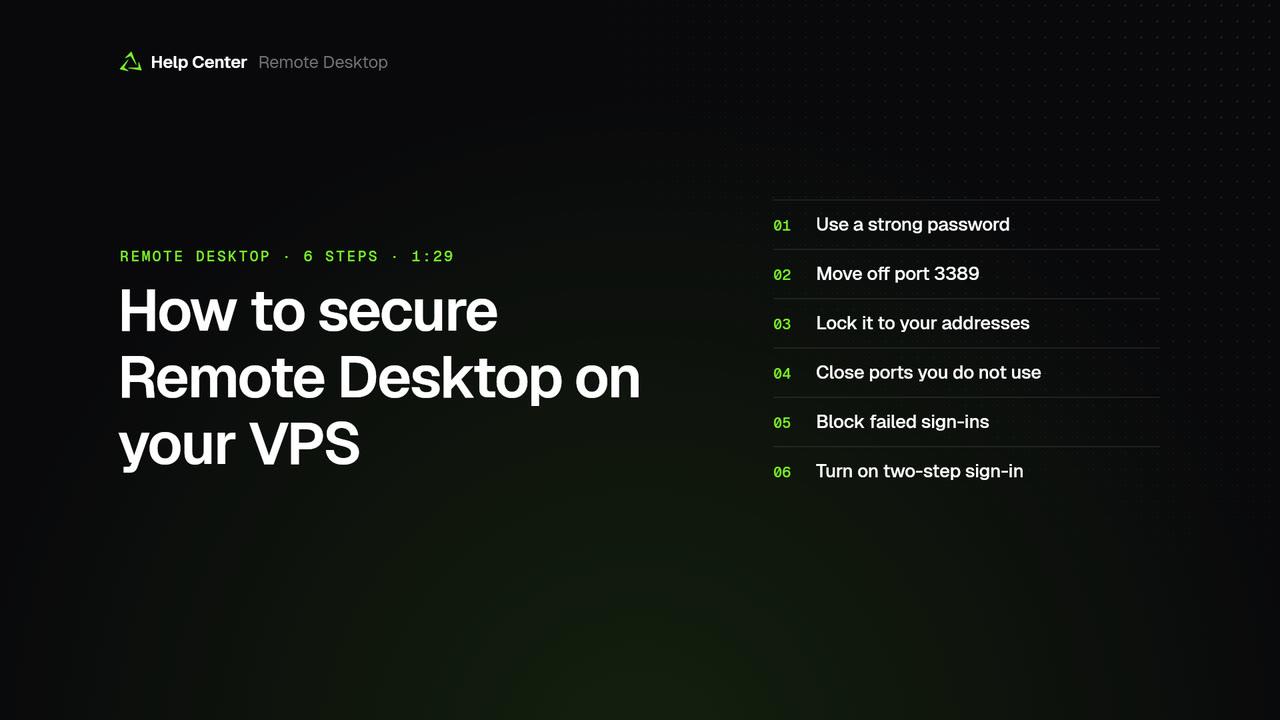
Step 1: Use a Strong Windows Password
- Use a long password that you use nowhere else: 16 characters or more. A password manager makes and keeps it for you.
- The password your VPS started with is in Control Panel › Connection details.
- If you change the password in Windows, keep the new one in your password manager. The dashboard does not show it, and we cannot recover it. See How to Change Your VPS Password.
- Never send your password to anyone, us included.
Step 2: Move Remote Desktop Off Port 3389
Bots scan port 3389, the Windows default, much more than a random high port. A new Windows VPS can already start on a random port. To check, look at the IP address in Connection details: a number after a colon, for example 203.0.113.10:24817, is the port.
- In Detect+, open Remote Desktop › Settings.
- The Remote Desktop port card shows the port. Click Change port, keep the suggested random port, and click Change port again.
- Click Download RDP file and connect with the new file.
If the new port cannot be reached within 10 minutes, the VPS goes back to the old port by itself. Full steps: How to Change the Remote Desktop (RDP) Port on Your VPS. A new port cuts the bots' attempts. It does not replace a strong password.
Step 3: Lock Remote Desktop to Your Addresses
The lock lets only the internet addresses you choose reach Remote Desktop. Every other address gets no answer, so nobody else can try a password at all. Only the account owner can turn it on.
- In Detect+, open Remote Desktop › Settings and find the Lock Remote Desktop to my addresses card.
- Add the addresses you connect from:
- Click Add my address to add the address you use now.
- Tick the addresses you know under Signed in most, last 30 days.
- Or type an address or a range, such as
203.0.113.0/24, in the box that reads Address or range (/24) and click Add. You can add up to 20.
- Click Lock.
- Within 10 minutes, disconnect Remote Desktop and connect again from an allowed address. The card then shows Locked to your addresses. If nobody signs in from an allowed address in time, the VPS undoes the lock by itself.
Your address changes often, or you connect from many places? Use Tailscale and lock Remote Desktop to Tailscale's addresses: see How to Connect to Your VPS Through Tailscale. To change the port while the lock is on, click Unlock first. If Lock is greyed out, the card says why, for example while Detect+ updates itself.
Step 4: Close Ports You Do Not Use
Every port that answers the internet is a door. Detect+ lists them so you can close the ones you do not use. Detect+ itself opens no port.
- In Detect+, open Remote Desktop › Security and find the Open ports card.
- Each port shows who can reach it: Answers the internet, Some addresses only, Local network only or Only this VPS.
- Remote Desktop on its port shows Expected. A port marked Review should not answer the internet, for example Windows remote management (5985) or file sharing (445). Its line says why.
- To close a port you do not use, click Close on its line, then Close port. Programs on the VPS keep running. Only that port stops answering the internet.
- To open it again, click Undo.
If the VPS cannot reach us within 10 minutes after a change, it undoes the change by itself. Detect+ never closes the rules that let Remote Desktop in, the QuantVPS rules, or rules set by Group Policy.
If the card says that Windows calls a network Private, Windows opens more ports on it. Click Set to Public to change it. Remote Desktop stays allowed and open sessions stay connected. If the only network listed is Tailscale, leave it: Tailscale sets its own network to Private, and only your own devices reach it.
Step 5: Watch Failed Sign-ins
- In Detect+, open Remote Desktop › Security.
- The Failed sign-ins card lists the addresses that tried wrong passwords most.
- Click Block on an address you do not know, and choose how long: 24 hours, 7 days, 30 days or Until removed.
- The Blocked addresses card shows each blocked address, until when, and an Unblock button.
If many addresses keep trying, a port change (Step 2) or the lock (Step 3) helps more than blocking one address at a time.
Step 6: Turn On Two-Step Sign-in for Your Dashboard
Your dashboard shows your VPS password and controls the lock. Two-step sign-in protects it: after the code we email you, the dashboard also asks for a code from an authenticator app on your phone. Someone with your email alone cannot sign in.
- Open the account menu at the top of the dashboard (on a phone, in the menu) and click Two-step sign-in.
- Click Set up.
- Scan the QR code with an authenticator app, such as Google Authenticator, Microsoft Authenticator or 1Password. If you cannot scan it, click Copy key beside the QR code and paste the key into the app.
- Type the 6-digit code the app shows.
- Save the 10 backup codes somewhere safe, away from your phone. Each code works once, if you lose your phone. Tick I saved these codes and click Done.
If the page says Not available yet, two-step sign-in is not offered yet. Until then, the dashboard signs you in with the code we email you.
For a second step on Remote Desktop itself, see How to Set Up Two-Factor Authentication for RDP with Duo.
What QuantVPS Never Does
- We never ask for your Windows password, and support never signs in to your VPS with it. One exception: when you ask our team to move your files to a dedicated server, we ask for the password once for that copy. Change it when the copy is done. If you sent it to us at any other time, change it.
- We never send your VPS password by email, chat or ticket reply. It is only in your dashboard.
- Detect+ never opens a port on your VPS.
- Only the account owner can lock Remote Desktop or close a port. Teammates you share the VPS with, and support, cannot.
- We never change your Remote Desktop port or the lock without telling you. Detect+ shows port changes, the lock and blocked addresses in its Activity log, and we email the account owner when the lock or a port changes.
Related
- How to Connect to Your VPS Through Tailscale
- How to Connect to Your VPS Through WireGuard
- How to Change the Remote Desktop (RDP) Port on Your VPS
- How to Access Your VPS Using Console (VNC)
Need Assistance?
Our support team is available 24/7. If you have any questions or run into issues, open a support ticket from your QuantVPS dashboard and we'll get back to you as quickly as possible.