
Running NinjaTrader on a Mac isn’t straightforward since the platform is built exclusively for Windows. However, there are three ways you can make it work:
- Virtual Machines (Parallels Desktop or VMware Fusion): Create a Windows environment within macOS. This allows you to run both operating systems side by side but requires significant system resources.
- Boot Camp (Intel Macs only): Dual-boot into Windows for full hardware access. This delivers better performance but requires rebooting to switch between macOS and Windows.
- Cloud-Based VPS Hosting (e.g., QuantVPS): Access NinjaTrader on a remote Windows server. This eliminates the need for local installations and offers consistent performance, though it comes with a monthly cost.
Each option has trade-offs in terms of performance, cost, and setup complexity. For M-series Macs, virtualization or VPS hosting are your only choices since Boot Camp is unavailable. Select the method that suits your hardware, budget, and trading needs.
NinjaTrader on Mac – Full Setup & Trading Tutorial
Why Running NinjaTrader on Mac Is Difficult
NinjaTrader is built exclusively for Windows, relying heavily on the .NET Framework. This leaves Mac users without a native installation option. To run NinjaTrader on a Mac, users must resort to workarounds like virtualization software (e.g., Parallels or VMware) or Apple’s Boot Camp. These methods, while functional, often introduce performance issues. Additionally, NinjaTrader uses Windows-specific technologies like DirectX for chart rendering, adding another layer of complexity.
"The NinjaTrader desktop software requires Microsoft Windows and the .NET Framework. These are both facts, and neither will probably be changing any time soon." – bltdavid, Senior Member
Running NinjaTrader on a Mac also means adhering to Windows’ system requirements, which are essential for smooth operation.
System Requirements for NinjaTrader
Since Mac users need to run Windows to use NinjaTrader, meeting the platform’s system requirements becomes even more critical. The software is optimized for modern PC hardware, taking advantage of multiple CPU cores and additional memory for better performance.
| Component | Minimum Requirements | Recommended Specifications |
|---|---|---|
| Operating System | Windows 10, Windows 11, Windows Server 2016 or later | Windows 10, Windows 11, Windows Server 2016 or later |
| Processor | 1 GHz or faster 64-bit processor | 2 GHz or faster quad-core 64-bit processor |
| RAM | 2 GB | 8 GB |
| Graphics | DirectX 10 compatible (highly recommended) | DirectX 10 compatible graphics card |
| Storage | Standard hard drive | SSD Hard Drive |
| Framework | Microsoft .NET Framework 4.8 | Microsoft .NET Framework 4.8 |
| Screen Resolution | 1024 x 768 | 1024 x 768 |
For Mac users relying on virtualization, having extra memory is especially important to handle both the macOS and Windows environments effectively.
In trading, where speed and reliability are paramount, even minor delays can have a significant impact. As trading expert Aditya Goela, CFA, explains:
"Speed is everything in trading. A fraction of a second can make a huge difference in executing a trade or reacting to market news."
Ensuring that your system meets or exceeds these specifications is essential for a stable and efficient trading experience. Any crashes or slowdowns could disrupt trading operations and lead to missed opportunities or financial losses. Moreover, with Windows powering about 70% of desktop and laptop devices globally by early 2025 – compared to macOS’s 15% share – it’s clear why NinjaTrader prioritizes Windows compatibility, leaving Mac users to rely on additional tools to make the software work effectively.
Method 1: Virtual Machines
Virtual machines let Mac users run NinjaTrader on macOS by creating a Windows environment, all while keeping the Mac’s native operating system intact. This approach offers more flexibility than dual-boot solutions and sets the stage for exploring other methods later.
How to Set Up Parallels Desktop or VMware Fusion
Parallels Desktop is a favorite among Mac traders, particularly because it’s authorized by Microsoft to run Windows 11 on Apple M-series Macs. The setup process is designed to be simple and user-friendly.
- Download and Install Parallels Desktop
Start by downloading Parallels Desktop. Follow the built-in prompts to install Windows and then install Parallels Tools to enhance performance and integration. - Secure Your Virtual Environment
After installing Windows, immediately change the default administrator account password to protect your virtual machine. - Adjust NinjaTrader Settings
When setting up NinjaTrader, disable the "Share Mac" option in the NinjaTrader setup. If you’re using VMware Fusion, uncheck "Documents" under "Mirrored Folders" during the configuration process.
Oliver Elias, a day trader, shared his experience:
"I am a trader and NinjaTrader only developed a Windows version for PC users. I can’t trade without it. Parallels Desktop solved this for me very quickly. It was extremely easy to set up and gave me the option to download Windows right away. It’s running smoothly and the settings provided all the options I needed to get started. Thank you!"
Virtual Machine Pros and Cons
Here’s a quick look at the trade-offs of using virtual machines for NinjaTrader:
| Aspect | Advantages | Disadvantages |
|---|---|---|
| Performance | Full Windows functionality | Demands significant system resources; performance hinges on proper configuration. |
| Cost | One-time software purchase, no subscription fees | Requires a Windows license and additional payment for VM software. |
| Setup Complexity | Easy installation with built-in Windows download | Requires technical setup and managing two operating systems. |
| Hardware Compatibility | Works on both Intel and Apple Silicon Macs, including M-series chips | Needs at least 8GB RAM and SSD storage for optimal performance. |
| Trading Experience | Seamless switching between systems | May face latency issues; resource optimization is necessary for smooth trading. |
Although NinjaTrader doesn’t officially recommend running NT8 on virtual machines, many users have done so successfully. To get the best experience, allocate at least 8GB of RAM and 4 or more CPU cores to your virtual machine.
For better performance, limit active workspaces and instruments in NinjaTrader. Configure indicators to update on "On Bar Close" or "On Price Change" rather than "Calculate On Each Tick" to reduce load. Regular maintenance, such as restarting NinjaTrader periodically, can help prevent memory leaks and clear background processes that may slow down the application. Parallels Desktop even includes a CPU Usage Monitor to help identify processes that are using too many resources.
Virtual machines give Mac users full access to NinjaTrader’s Windows features while still allowing them to use macOS applications. However, this convenience requires more powerful hardware and careful resource management to ensure smooth trading. In the next section, we’ll explore Boot Camp, which offers a different approach for Intel-based Macs.
sbb-itb-7b80ef7
Method 2: Boot Camp for Intel Macs
If you’re using an Intel-based Mac and need a Windows-native solution for trading, Boot Camp offers a straightforward way to run NinjaTrader without the performance hit of virtualization. Essentially, Boot Camp allows your Mac to run Windows directly on the hardware by partitioning the hard drive. This setup ensures you can tap into the full power of your Mac when running Windows applications.
Boot Camp Assistant, which comes pre-installed with macOS, makes it easy to switch between macOS and Windows by simply restarting your computer. When you boot into Windows, you’re operating a fully functional Windows system with direct access to all your Mac’s hardware resources. This can lead to better performance, especially for resource-heavy trading software like NinjaTrader.
How to Set Up Boot Camp
Setting up Boot Camp involves a few steps: partitioning your drive, installing Windows, and configuring drivers. Here’s what you need to know.
Before You Begin
Before diving in, back up all important files. You’ll need a 64-bit version of Windows 10 in ISO format or other installation media. Additionally, ensure your Mac’s startup drive has enough free space – while 64GB is the minimum, 128GB or more is recommended for smoother operation. Keep your Mac plugged into a power source throughout the process.
It’s also a good idea to download the latest macOS updates before starting the installation. This step can help avoid compatibility issues and make the setup process smoother.
Installation Steps
- Open Boot Camp Assistant, which is located in your Applications > Utilities folder.
- Follow the prompts to create a Windows partition on your hard drive. During this step, you’ll decide how much space to allocate to Windows.
"When you set up Boot Camp, you’re splitting your hard drive between macOS and Windows. This means you have to allocate space, and if you give Windows just a bit too little, you might run out of room for software or files later on. Plus, resizing partitions later can be a hassle." – soumdg663, Iron Contributor, Microsoft Community Hub
- Once prompted, select the "BOOTCAMP" partition and format it as NTFS.
- After Windows installs, install the Boot Camp drivers to ensure all your hardware works correctly.
For newer Mac models, the process is even simpler since they may not require a USB flash drive for the Windows installation.
Windows 11 Compatibility
If you’re considering Windows 11, keep in mind that some Intel Macs might not fully support its TPM and Secure Boot requirements due to the T2 Security Chip.
Boot Camp Benefits and Drawbacks
Boot Camp offers a mix of advantages and challenges, particularly when compared to virtual machine solutions. Here’s a breakdown:
| Aspect | Benefits | Drawbacks |
|---|---|---|
| Performance | Full hardware access for native Windows use | Requires a reboot to switch between macOS and Windows |
| Resource Usage | All system resources dedicated to Windows | Dual-boot setup takes up significant disk space |
| Trading Experience | Ideal for running NinjaTrader with top performance | Rebooting can be inconvenient for frequent macOS users |
| License Management | Stable machine ID simplifies NinjaTrader licensing | Switching between Boot Camp and other solutions alters machine ID |
Boot Camp shines when it comes to performance, as it dedicates all your Mac’s hardware to Windows. However, careful planning is needed when allocating disk space during setup, as resizing partitions later can be tricky.
For NinjaTrader users, Boot Camp offers a stable and reliable environment with consistent machine identification, which is crucial for licensing. However, if you frequently switch between Boot Camp and other solutions like virtual machines, you’ll need to reapply your NinjaTrader license and connection settings due to changes in the machine ID.
This method is ideal for traders who rely heavily on Windows applications and don’t mind rebooting to switch back to macOS. The native performance is perfect for intensive trading tasks, but the lack of flexibility might not suit users who need quick access to both operating systems.
If you decide to remove Windows in the future, use Boot Camp Assistant to ensure everything is cleaned up properly. Also, keep both macOS and Windows updated regularly to maintain stability and security.
Next, we’ll look at a cloud-based alternative that eliminates hardware limitations entirely.
Method 3: Cloud-Based VPS Hosting with QuantVPS
Cloud-based VPS hosting offers Mac users a hassle-free way to run NinjaTrader without needing a local Windows installation. QuantVPS provides a high-performance Windows environment specifically tailored for trading, accessible from any Mac through a remote desktop connection. This eliminates the need for dual-boot setups or hardware upgrades.
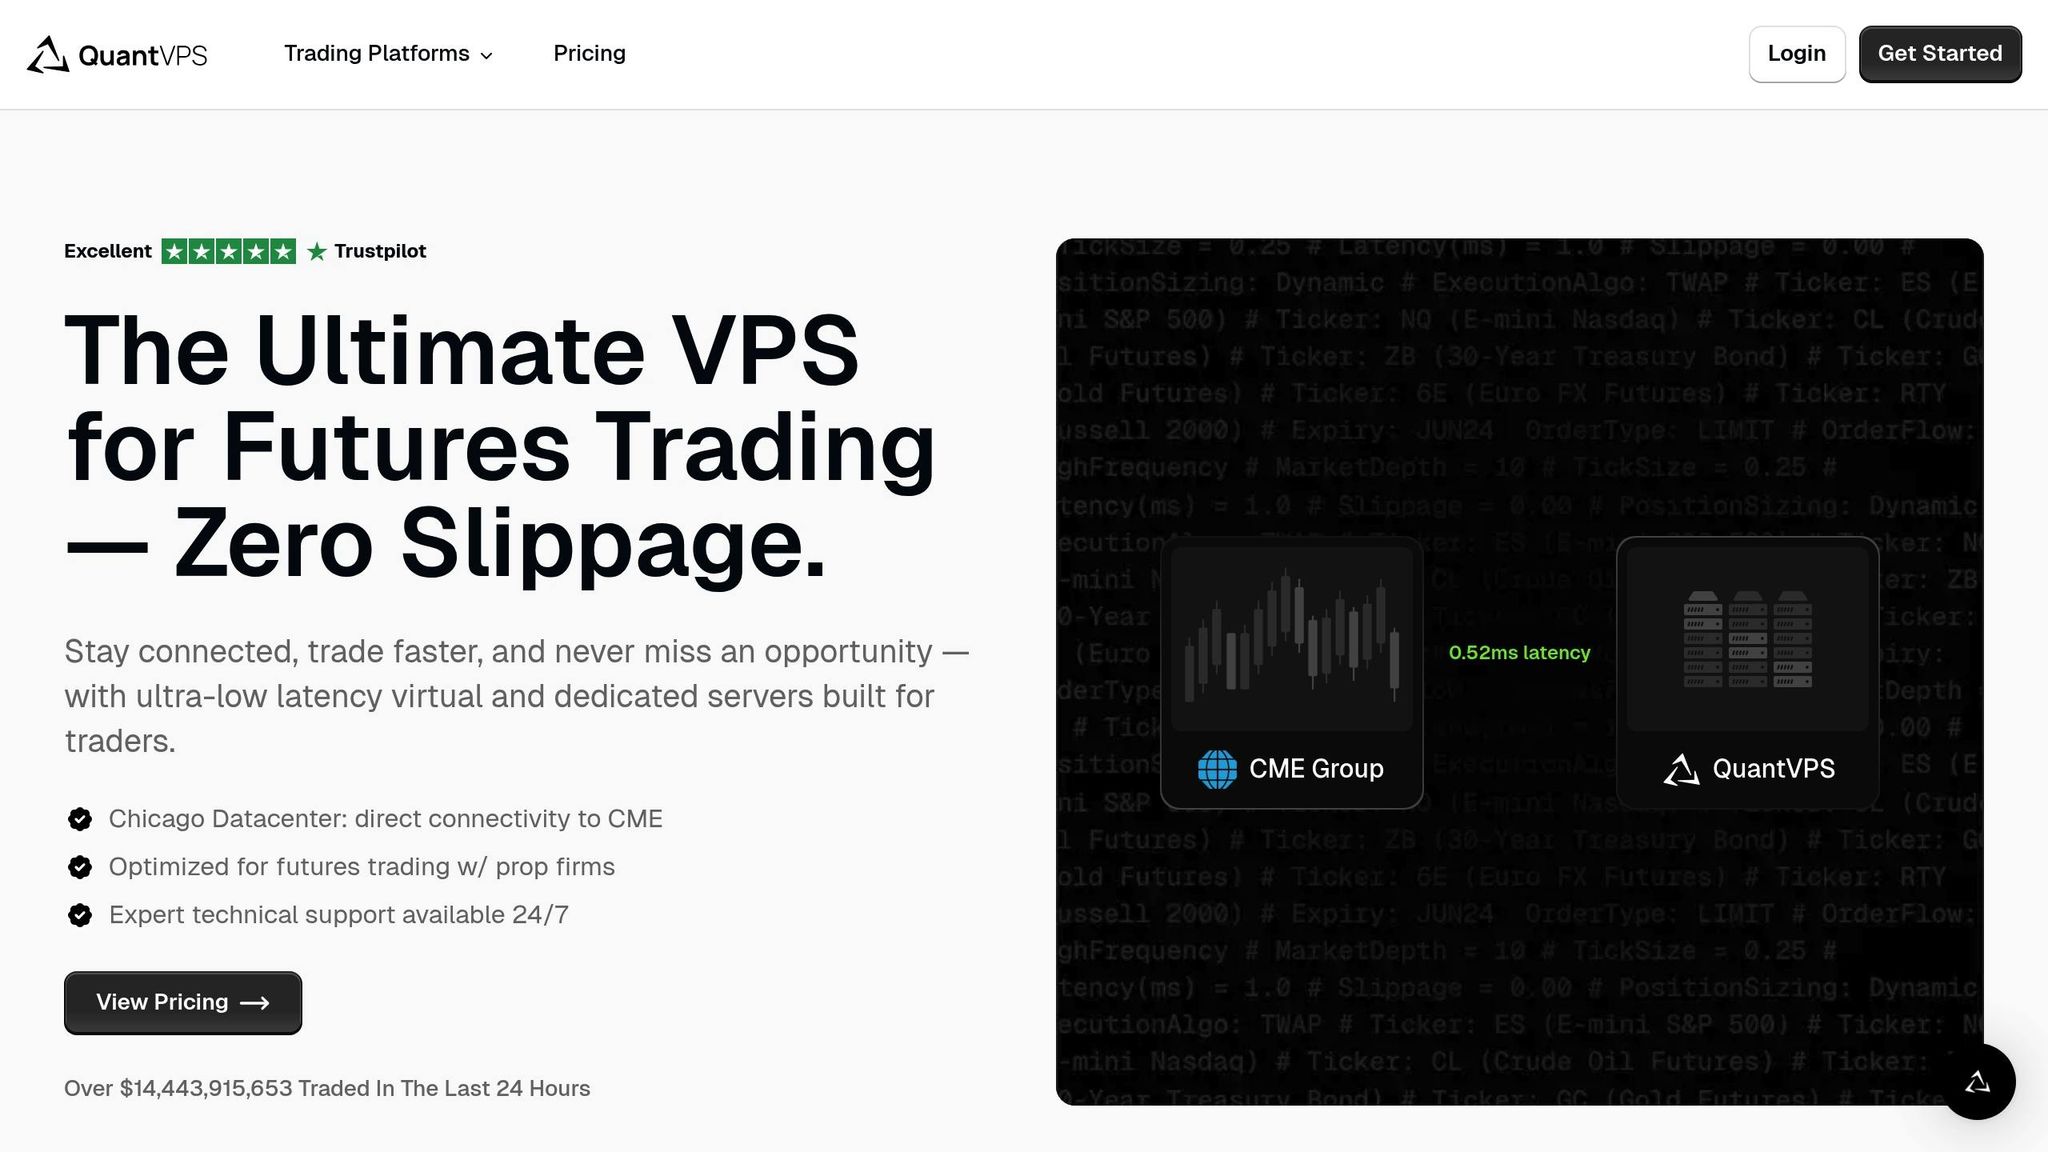
QuantVPS operates on independent servers housed in professional data centers, guaranteeing 99.999% uptime. This means your trading platform remains active no matter what’s happening with your local device. With latency as low as 0.52ms to CME and over $14.44 billion in futures volume processed on its low-latency servers, QuantVPS is a dependable choice for traders who prioritize performance and reliability.
How to Set Up NinjaTrader on QuantVPS
Getting started with NinjaTrader on QuantVPS is straightforward. The process involves choosing the right plan, accessing your virtual server, and installing NinjaTrader on a pre-configured Windows Server 2022 setup.
Plan Selection and Registration
First, pick a QuantVPS plan that aligns with your trading needs. For most users, the VPS Pro plan at $99/month (offering 6 CPU cores, 16GB RAM, and 150GB NVMe storage) is an excellent choice. Sign up on the QuantVPS website; the registration process is simple, and their support team is available to assist if needed.
Accessing Your VPS
Once registered, log into the QuantVPS dashboard to get your server credentials (IP address, username, and password). Mac users can download Microsoft Remote Desktop from the App Store for RDP access. Use these credentials to connect to your virtual server. Once connected, you can download and install NinjaTrader on the pre-configured Windows Server 2022 environment.
QuantVPS Features for Traders
QuantVPS is built with professional trading in mind, addressing the specific challenges Mac users face when running Windows-based platforms. Its data center in Chicago ensures fast and reliable connections to major financial exchanges.
Performance and Security
QuantVPS delivers the speed needed for scalping and automated trading strategies, thanks to its optimized network routes and powerful hardware. It also offers robust security features, including Anti-DDoS protection and automated server backups, safeguarding your trading data and configurations.
"Competitive pricing, reliable compute, and an awesome customer service team. QuantVPS is the superior choice for professional and retail traders, running automated trading systems on a variety of platforms. QuantVPS delivers unmatched speed, reliability, and security tailored for seamless algorithmic trading." – AITechly
Multi-Monitor Support and Compatibility
The platform supports multi-monitor setups, with higher-tier plans accommodating up to six monitors. This allows Mac users to create advanced trading workstations without needing additional hardware. QuantVPS is also compatible with all major futures data feeds and trading platforms, ensuring a smooth trading experience.
24/7 Expert Support
QuantVPS offers round-the-clock technical support via tickets, live chat, and a detailed knowledge base. Users frequently commend the live chat support for its quick and effective assistance, which is especially important when dealing with time-sensitive trading issues.
QuantVPS Plan Comparison
QuantVPS provides four main plans, each tailored to different trading requirements:
| Plan | Price | CPU Cores | RAM | Storage | Monitors | Best For |
|---|---|---|---|---|---|---|
| VPS Lite | $59/month | 4× AMD EPYC | 8GB DDR4 | 70GB NVMe | 1 | 1–2 charts, basic strategies |
| VPS Pro | $99/month | 6× AMD EPYC | 16GB DDR4 | 150GB NVMe | Up to 2 | 3–5 charts, moderate setups |
| VPS Ultra | $199/month | 24× AMD EPYC | 64GB DDR4 | 500GB NVMe | Up to 4 | 5–7 charts, advanced setups |
| Dedicated Server | $299/month | 16×+ cores | 128GB RAM | 2TB+ NVMe | Up to 6 | 7+ charts, institutional use |
The VPS Pro plan is ideal for most NinjaTrader users, offering enough resources for multiple charts at a reasonable cost. Users report that even complex setups run seamlessly on this plan. For traders with more demanding needs, the VPS Ultra plan provides additional computing power, while the Dedicated Server option delivers institutional-grade performance with extensive multi-monitor support.
This scalable setup allows traders to start with a smaller plan and upgrade as their trading needs grow. QuantVPS provides a robust alternative to local setups, making it an excellent option for running NinjaTrader on a Mac.
Which Method Should You Choose
Your choice depends on your hardware, budget, and level of technical know-how. Each option has its own strengths, tailored to different trading needs and personal preferences.
If you’re using an M-series Mac, your options are limited since Boot Camp isn’t supported on Apple Silicon. In this case, virtual machines like Parallels Desktop or cloud-based VPS hosting are your best bets. Parallels Desktop works particularly well if your Mac has plenty of memory and processing power.
"Through Parallels Desktop, I can use the NinjaTrader app on macOS. It’s so seamless. I love working with both OSs at the same time in coherence mode." – Investor and Trader, verified Parallels Desktop customer
For Intel Mac users, Boot Camp offers native performance, which can be a big advantage. It’s free to use, aside from the cost of a Windows license, making it a budget-friendly choice. On the other hand, virtual machines like Parallels Desktop cost up to $99.99 annually, while QuantVPS starts at $59 per month for a basic cloud-based solution.
If simplicity is your priority, QuantVPS is a plug-and-play option that spares you the hassle of setting up and maintaining a Windows environment. Virtual machines and Boot Camp, while powerful, require more manual configuration and ongoing management.
For traders who need uninterrupted uptime and ultra-low latency, cloud-based VPS hosting stands out. QuantVPS offers a 100% uptime guarantee and ultra-low latency (0–1ms), ensuring that your trading platform operates independently of your local Mac. This setup can be a lifesaver if your computer encounters any issues.
FAQs
What are the benefits of using a cloud-based VPS like QuantVPS to run NinjaTrader on a Mac?
Using a cloud-based VPS like QuantVPS offers several advantages for running NinjaTrader on a Mac. One of the biggest perks is low latency and high reliability, which are crucial for executing trades swiftly and without hiccups. Plus, with VPS hosting, you get dedicated resources, ensuring your trading setup isn’t slowed down by other users or the limitations of your local device.
QuantVPS also prioritizes security, keeping your sensitive trading data safe, and ensures uninterrupted performance – a lifesaver during power outages or internet issues. For traders looking to run NinjaTrader smoothly on macOS, this setup is a solid choice.
Will running NinjaTrader on an M-series Mac using Parallels Desktop affect its performance?
Running NinjaTrader on an M-series Mac using Parallels Desktop may result in minor performance dips, but recent updates have greatly boosted its compatibility and efficiency with Apple Silicon. To keep things running smoothly, ensure your virtual machine is set up correctly and allocate enough resources, such as CPU and RAM, to reduce lag.
For optimal performance, keep your Mac updated with the latest macOS version and ensure you’re running the most recent version of Parallels Desktop to benefit from the latest improvements.
Can I use Boot Camp to run NinjaTrader on newer Macs with Apple Silicon processors?
No, Boot Camp is no longer an option for running NinjaTrader on newer Macs equipped with Apple Silicon processors, such as the M1, M2, M3, or M4 chips. This is because Apple has ended Boot Camp support for these models, as it only works with Intel-based Macs.
If you’re looking to use NinjaTrader on an Apple Silicon Mac, you’ll need to explore alternatives like virtual machines or cloud-based VPS hosting, both of which are designed to work with these newer processors.


