
Want to trade futures efficiently? Connect NinjaTrader 8.1+ with your Tradovate account. This guide shows you how to set up both platforms for real-time data, advanced order types, and automated trading. Here’s a quick overview:
- Why Integrate? Access real-time data, advanced tools, and manage multiple accounts.
- Who Is It For? Ideal for professional traders, algo traders, and day traders.
-
What You Need:
- Active Tradovate account with market data subscription.
- NinjaTrader license (free or paid).
- A Windows PC meeting system requirements (e.g., Windows 10/11, 16GB RAM, SSD).
-
Setup Steps:
- Gather Tradovate API credentials.
- Install NinjaTrader 8.1+.
- Configure Tradovate connection in NinjaTrader.
- Test real-time data and order execution.
Pro Tip: Use a VPS like QuantVPS for faster execution and stable performance. Ready? Let’s set it all up!
How To Connect Tradovate To Ninjatrader (2024) Step by Step
Setup Requirements
Before linking NinjaTrader 8.1+ with Tradovate, ensure you meet the following criteria. Check both account and system specifications below.
Account Requirements
To connect NinjaTrader with Tradovate, you’ll need:
- Active Tradovate Account: A funded account with an active market data subscription.
- NinjaTrader License: Either a free license (basic charting) or a paid license (advanced features).
- Market Data Subscription: A CME Group data feed subscription must be active.
- Valid Credentials: Your username, password, account number, and Trading PIN (if enabled) for both platforms.
System Requirements
Your hardware and network setup should meet these specifications for smooth trading performance:
| Component | Minimum | Recommended |
|---|---|---|
| OS | Windows 10 (64-bit) | Windows 11 Pro (64-bit) |
| Processor | Intel Core i5 | Intel Core i7/i9 or AMD Ryzen 7/9 |
| Memory | 8GB RAM | 16GB+ RAM |
| Storage | SSD – 10GB free | 250GB+ NVMe SSD |
| Internet | 10 Mbps dedicated | 100+ Mbps fiber |
| Display | 1920 x 1080 | Dual 2560 x 1440 |
Additional setup notes:
- Network: Use a wired Ethernet connection for stability.
- Power: Protect your system with a UPS.
- Security: Keep antivirus software up to date.
- Software: Install the latest Windows updates and ensure .NET Framework 4.8+ is installed.
- Graphics: Update your graphics drivers to the latest version.
Tradovate Account Setup
Here’s how to set up your Tradovate account for NinjaTrader integration.
Getting Your Login Details
Start by gathering your login information: your registered email, secure password, account number, and Trading PIN. Here’s how to do it:
- Log in to your Tradovate dashboard. Go to Account Settings > API Access and create your API credentials if you haven’t already. Use a password manager to store these securely.
Important: Keep your credentials private and avoid saving them in unsecured locations.
Once you have your credentials, you can move on to setting up your market data subscriptions.
Market Data Setup
-
Market Data Agreements
Accept the necessary agreements for market data access, including:- CME Group Market Data Agreement
- Exchange-specific agreements
- Real-time data terms of service
-
Data Subscription Activation
After completing the agreements, confirm that your subscriptions are active. Here’s a quick overview:Data Type Requirements Update Frequency Level I Basic subscription Real-time Level II Premium subscription Real-time Historical Additional package End of day -
Data Feed Verification
Ensure all data feeds show an "Active" status. If not, check for common issues like:- Expired market agreements
- Low account balance
- Unpaid subscription fees
- Incomplete account verification
Pro Tip: Before integrating with NinjaTrader, test your market data access on Tradovate’s web platform. This can help identify any connection issues early.
NinjaTrader 8.1+ Setup
Once your Tradovate account is ready, the next step is setting up NinjaTrader 8.1+.
Installation Steps
Follow these steps to download and install NinjaTrader 8.1+ on your system:
-
Download NinjaTrader
- Head to NinjaTrader’s official website.
- Select "Download NinjaTrader 8."
- Choose the 64-bit version for your system.
-
Run Installation
- Open the installer you just downloaded.
- Agree to the license terms.
-
Pick your installation folder (default:
C:\Program Files\NinjaTrader 8). - Allow any Windows Defender exceptions if prompted.
-
Initial Launch
- Start NinjaTrader 8.1+.
- Complete the setup wizard.
- Accept the End User License Agreement (EULA).
Once the initial setup is complete, you can move on to configuring the platform for better performance.
Basic Settings
Here’s how to set up the key settings:
Data Settings
- Go to Tools > Options > Market Data.
- Set the update frequency to "Normal" (100ms).
- Enable the option to "Show real-time data only."
Chart Configuration
- Open a new chart window.
-
In Properties, set the chart style to Candlestick, the time frame to 1 minute, and the price data series to the Last price.
These settings provide a solid foundation for analyzing market trends effectively.
Workspace Setup
Organize your trading environment with this recommended layout:
| Window Type | Suggested Location | Purpose |
|---|---|---|
| Charts | Left side | Market analysis |
| DOM | Center | Order execution |
| Account info | Top right | Position monitoring |
| Time & Sales | Bottom right | Price tracking |
Performance Optimization
To ensure smooth performance, adjust these settings:
-
Memory Allocation
- Go to Tools > Options > General.
- Set "Memory usage" to "High."
- Enable "Use multiple CPU cores."
-
Chart Rendering
- Limit the number of active charts to 6-8.
- Set the chart update speed to "Normal."
- Turn off any unnecessary indicators.
Pro Tip: Once your workspace is set up the way you like it, create a backup. Go to File > Backup > Create Backup to save your configuration. This ensures you can easily restore your settings if needed.
sbb-itb-7b80ef7
Platform Connection Steps
After setting up your NinjaTrader workspace, here’s how to link it with your Tradovate account.
Multi-Provider Setup
-
Access Connections
- Open NinjaTrader 8.1 or later.
- Go to Tools > Account Connections.
- In the Account Connections window, click "Add".
-
Provider Configuration
- Select ‘Tradovate’ as your provider.
- Choose "Live" or "Demo" based on your account type.
- Turn on "Connect on Startup" if you want the connection to happen automatically.
Once you’ve set up the provider, you’re ready to connect your Tradovate account.
Tradovate Connection Setup
Enter your Tradovate login details and adjust the connection settings as follows:
| Setting | Value | Description |
|---|---|---|
| Username | Your Tradovate email | The email linked to your account. |
| Password | Your Tradovate password | The password for your account. |
| Environment | Live/Demo | Choose your trading environment. |
| Auto-connect | On | Automatically connects at startup. |
| Market data | Real-time | Type of data feed. |
Connection Parameters
- Set the timeout to 30 seconds.
- Enable automatic reconnection.
- Adjust the ping interval to 15 seconds for stability.
- Choose your preferred data compression level.
After completing these steps, you’re ready to test your connection.
Connection Testing
Make sure everything is set up correctly by running these checks:
-
Initial Connection Test
- Click "Connect" in the Account Connections window.
- Confirm the status changes to ‘Connected’.
- Look for the green connection indicator.
-
Market Data Verification
- Open a chart for a popular futures contract (e.g., ES or NQ) and confirm that prices update in real-time.
- Ensure time stamps align with your local time.
-
Order Routing Test
- Place a test order using the DOM.
- Check how quickly the order is routed.
- Verify that your account balance updates correctly.
Troubleshooting Tips
- Double-check your login credentials if the connection fails.
- Ensure NinjaTrader is allowed through your firewall.
- Confirm your internet connection is stable.
- Visit Tradovate’s system status page to check for any ongoing issues.
Common Problems and Solutions
After completing the setup and running connection tests, you might encounter some common issues. Here’s a guide to troubleshooting and resolving them effectively.
Connection Issues
Here are fixes for common connection-related problems:
| Issue | Solution | Steps |
|---|---|---|
| Connection Timeout | Increase timeout to 60 seconds | Clear the NinjaTrader cache |
| Authentication Failed | Verify credentials and reset API key | Contact Tradovate support |
| Server Not Responding | Check firewall settings | Enable ports 443 and 80 |
| Unstable Connection | Adjust auto-reconnect settings | Set ping interval to 30 seconds |
If these don’t resolve the problem, check your antivirus or firewall settings. Make sure NinjaTrader is allowed through both. Restart NinjaTrader and your workstation as a final step.
Account Display Problems
If your account details appear incorrect or inconsistent, follow these steps to restore proper functionality:
-
Reset Account Display
- Clear the Account Data cache.
- Fully restart NinjaTrader.
- Reconnect to Tradovate.
-
Verify Account Permissions
- Confirm your market data subscriptions.
- Check your account status in Tradovate.
- Ensure your account is properly activated.
-
Update Display Settings
- Reset column layouts.
- Check account grouping settings.
- Refresh the account window to apply changes.
Market Data Issues
Market data problems, like delayed quotes or missing information, can disrupt trading. Here’s how to fix them:
For Real-Time Data
- Refresh your market data connection using Tools > Account Connections.
- Verify that you have active subscriptions for the symbols you need.
- Check your internet bandwidth and connection stability.
For Historical Data
- Clear the historical data cache if issues persist.
- Redownload historical data for the affected instruments.
- Double-check the date range settings in your charts.
To ensure smooth performance, configure your market data settings as follows:
| Setting | Recommended Value | Purpose |
|---|---|---|
| Buffer Size | 100 MB | Prevents data overflow |
| Update Rate | 100ms | Balances speed and stability |
| Compression | Medium | Optimizes data transfer |
These adjustments can help maintain a stable and efficient trading experience.
QuantVPS Trading Benefits
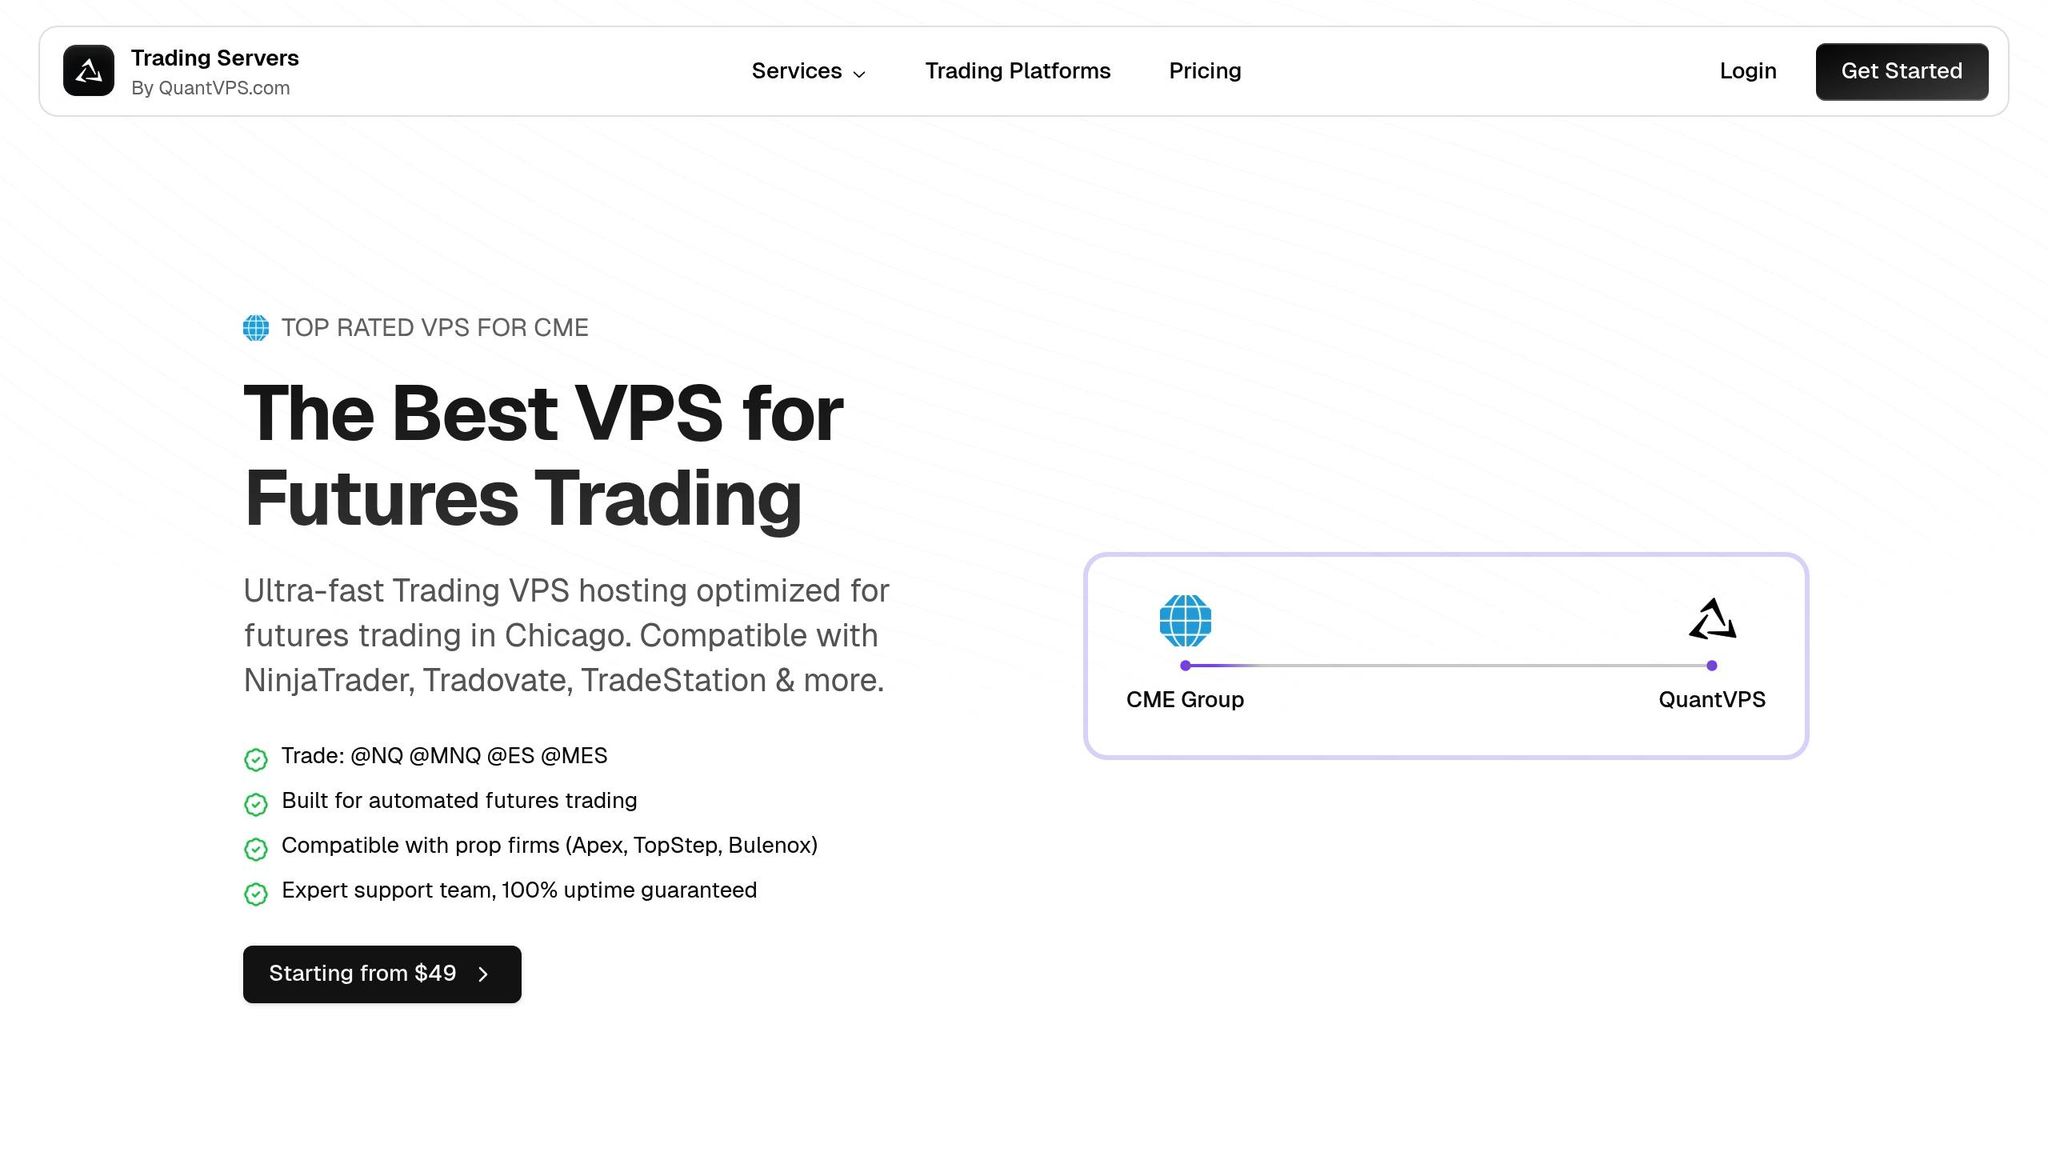
QuantVPS tackles trading performance challenges with ultra-low latency hosting, designed to boost efficiency and reliability.
Speed and Latency
In trading, every microsecond counts. QuantVPS ensures rapid execution with:
- Direct fiber connections offering 0-1ms latency to key exchanges
- 1Gbps+ network bandwidth for seamless data flow
- NVMe storage, which is quicker than traditional SSDs, for faster data access
| Feature | Impact on Trading |
|---|---|
| 0-1ms Latency | Near-instant order execution |
| NVMe Storage | Faster chart loading and backtesting |
| 1Gbps+ Network | Real-time market data updates |
Server Stability
A stable platform is critical for uninterrupted trading. QuantVPS delivers this through:
- A 100% uptime guarantee supported by enterprise-level infrastructure
- DDoS protection to safeguard against disruptions
- Continuous monitoring with instant alerts for any issues
The Windows Server 2022 environment is optimized for NinjaTrader and Tradovate, ensuring smooth and reliable operations. QuantVPS also fine-tunes resource allocation to enhance overall performance.
Platform Performance
QuantVPS offers configurations tailored to your trading needs:
| Trading Activity | Recommended Configuration | Available Resources |
|---|---|---|
| 1-2 Charts | VPS Lite | 4 cores, 8GB RAM |
| 3-5 Charts | VPS Pro | 6 cores, 16GB RAM |
| 5-7 Charts | VPS Ultra | 24 cores, 64GB RAM |
| 7+ Charts | Dedicated Server | 16+ cores, 128GB RAM |
Pre-Optimized Settings include:
- Memory and CPU prioritization for fast chart loading and algorithm execution
- Optimized network routes for better exchange connectivity
- Disk I/O adjustments for quicker access to historical data
These features ensure your NinjaTrader platform reacts to market changes without delay, while maintaining stable connections to your Tradovate account.
Summary
Setting up NinjaTrader 8.1+ with Tradovate requires attention to detail to ensure everything runs smoothly.
Setup Checklist
-
Account Verification
- Confirm your account is active and check your market data subscriptions.
- Make sure your account balance is sufficient.
-
Platform Configuration
- Install the latest version of NinjaTrader 8.1+.
- Enable multi-provider connections.
- Test your market data feeds to ensure they’re working properly.
-
Connection Testing
- Double-check your login credentials.
- Confirm real-time data is flowing correctly.
- Test order execution using the DOM (Depth of Market).
- Evaluate how quickly charts load.
Once your setup is ready, using QuantVPS can take your trading performance to the next level.
QuantVPS Performance Impact
Running your NinjaTrader-Tradovate setup on QuantVPS improves speed and reliability where it matters most:
| Trading Aspect | QuantVPS Advantage | Impact |
|---|---|---|
| Order Execution | 0-1ms latency | Almost instant trade placement |
| Data Processing | NVMe storage access | Faster chart updates |
| Platform Stability | 100% uptime guarantee | No interruptions while trading |
| Resource Management | Dedicated resources | Smooth operation with multiple charts |
To match your trading needs, choose a QuantVPS plan that aligns with your activity level:
- Light Trading: VPS Lite, ideal for 1-2 charts.
- Active Trading: VPS Pro, suited for 3-5 charts.
- Professional Trading: VPS Ultra for 5-7 charts, or opt for a Dedicated Server if you’re running more than 7 charts.
This combination of reliable infrastructure and dedicated resources ensures NinjaTrader operates at its best.