
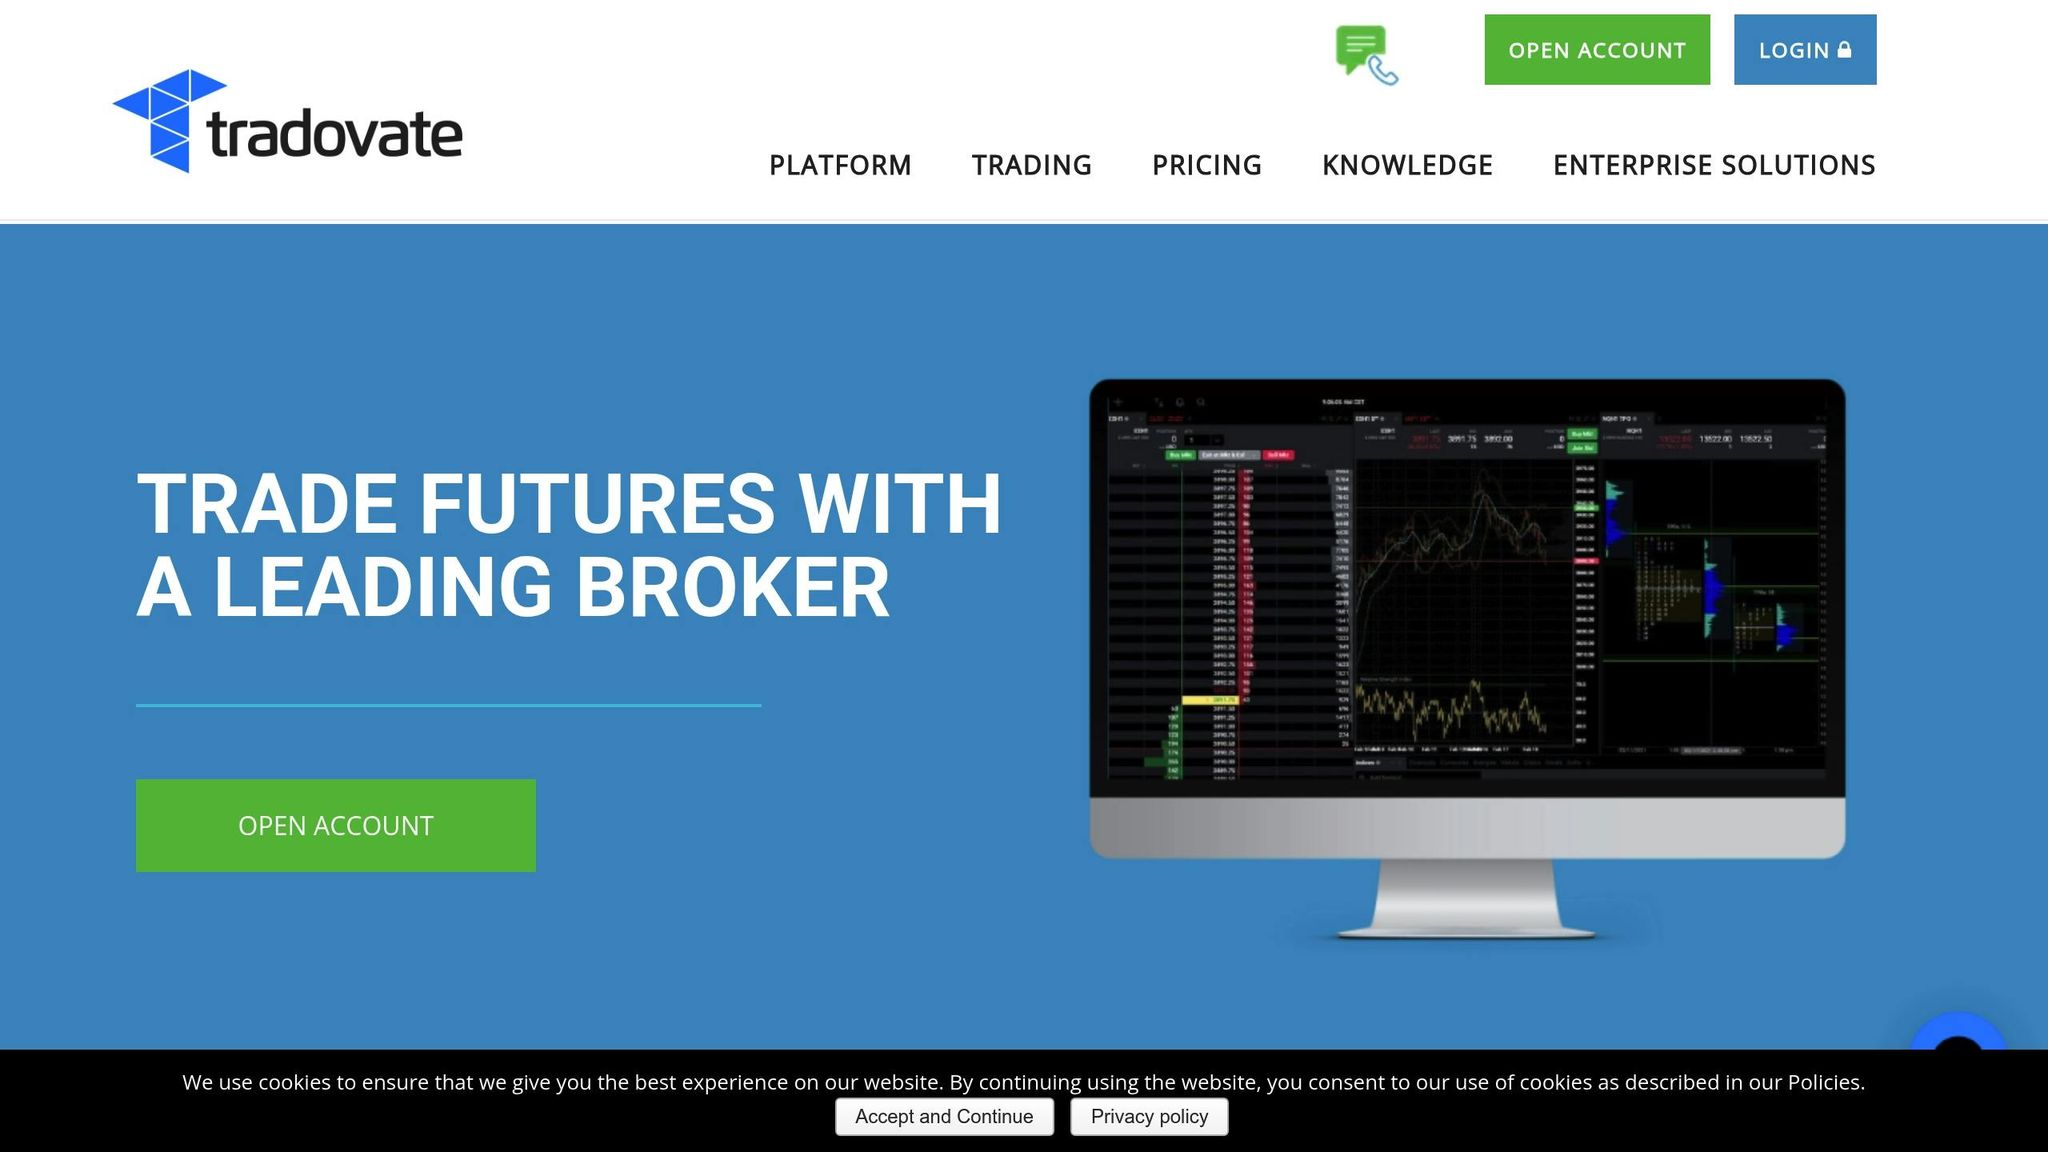
Want to combine TradingView's powerful charting tools with Tradovate's efficient trade execution? Here's how you can do it in a few simple steps:
- Accounts Needed: Ensure you have active accounts on both platforms. Tradovate requires the Add-on Tools subscription, and if you're using APEX or Elite Trader Funding, confirm the TradingView Add-on subscription is active.
- System Requirements: Use a compatible OS (Windows 10/11, macOS 11+, or Ubuntu 20.04/22.04) with a 64-bit processor and a stable internet connection.
-
Setup on Tradovate:
- Log in and enable the TradingView integration under the Add-ons tab.
- Verify the connection via the Connection Status indicator.
-
Setup on TradingView:
- Open the Trading Panel and select Tradovate as your broker.
- Log in with your Tradovate credentials and confirm tools like Positions Tab and Orders Tab appear.
- Risk Management: Configure order defaults and risk controls (e.g., Take Profit, Stop Loss) directly in TradingView.
Quick Tip: Keep both platforms open during trading for real-time updates and smooth syncing. If issues arise, verify your Tradovate add-on settings or contact support.
This guide simplifies the integration process, ensuring you can trade seamlessly while managing risk effectively.
How To Trade Futures With Tradovate On TradingView (LIVE)
Before You Start
Get your systems and accounts ready to make the integration process smooth and efficient. Proper preparation will help ensure everything works as expected.
Required Accounts
You'll need active accounts on both platforms with the right subscription levels. For Tradovate, make sure the Add-on Tools subscription is enabled to set up the connection. If you're using APEX or Elite Trader Funding, confirm that the TradingView Add-on subscription is active through your trading firm.
Platform Settings
Follow these steps to configure your platforms for integration:
- Enable Add-on Tools: Open the Tradovate platform settings by clicking the Settings icon in the top-right corner.
- Activate TradingView: Go to the Add-on tab and make sure the TradingView integration is switched on.
- Double-check subscriptions: Verify that your active subscription appears before moving forward.
Technical Requirements
Your system needs to meet these specifications to run smoothly:
| Operating System | Minimum Version Required |
|---|---|
| Windows | Windows 10 (22H2) or Windows 11 (22H2+) |
| macOS | Big Sur (version 11) or newer |
| Linux | Ubuntu 20.04 LTS or 22.04 LTS |
Hardware Details:
- Compatible with 64-bit Intel/AMD processors.
- ARM processors won't work for Windows and Linux versions.
- A reliable internet connection is essential for real-time data syncing.
Run 24/7 while you sleep. Keep bots, platforms, and trade copiers online on a dedicated VPS.
Low-latency VPS hosting for your trading platform.
From $59.99/mo
Check that your system meets these specs and that your hardware can handle running both platforms at the same time.
Setting Up Tradovate
With your accounts ready and system requirements met, it’s time to configure Tradovate to work with TradingView.
Open Account Settings
Log into Tradovate and click the Settings icon in the top-right corner. From there, enable the TradingView integration.
Enable TradingView
To activate the TradingView connection:
- Go to the Add-ons tab.
- Turn on the TradingView option.
For certain account types, additional steps may be needed:
| Account Type | Action Required |
|---|---|
| Standard Account | Activate directly |
| APEX Account | Reach out to support |
| Elite Trader Funding | Request add-on activation |
Verify the Connection
Make sure the integration is working by:
- Checking the Connection Status indicator.
- Ensuring key panels like Positions, Orders, and Account Summary are visible.
"To log on Tradovate account on TradingView, users need to enable the Add-on tools on the Tradovate platform."
If you're using a demo account, remember to switch the connection type from 'Live' to 'Demo' during the TradingView setup process.
Setting Up TradingView
With Tradovate ready to go, it's time to set up TradingView for smooth trade execution.
Access TradingView
Log in to TradingView. Trading features are built right into the charting platform. At the bottom of your chart, you'll find the Trading Panel, which is where you'll configure broker settings.
Locate Broker Settings
The Trading Panel is your hub for connecting with brokers. Here's how to find the broker settings:
- Click the Trading Panel tab at the bottom of your chart.
- Open the broker selection menu.
- Choose Tradovate from the list of available brokers.
This menu will show your connection status and available trading features.
Connect to Tradovate
Follow these steps to link your Tradovate account to TradingView:
- Select Tradovate from the broker list.
- Log in using your Tradovate credentials.
- After logging in, confirm that the following tools appear in your Trading Panel:
| Component | Purpose |
|---|---|
| Positions Tab | Check your current market positions. |
| Orders Tab | Track active and pending orders. |
| Account Summary | Monitor your account balance and performance. |
| Notifications Log | View system messages and alerts. |
"Setting everything up is quite straightforward." - TradingView Blog
Note: If you're using APEX or Elite Trader Funding accounts, ensure your TradingView Add-on subscription is active before connecting.
Once connected, you can execute trades directly on TradingView, fully synced with Tradovate in real time.
Trade Settings Setup
Once your platforms are connected, it's time to adjust your order and risk settings to suit your trading style and ensure smooth operations.
Order Defaults
Stay online and closer to execution. Choose a VPS location for CME futures, New York markets, London FX, API trading, and more.
Host your platform near the market route that matters.
From $59.99/mo
TradingView's order execution window allows you to set default parameters that match your strategy. You can access these settings through the Trading Panel:
| Parameter | Options Available |
|---|---|
| Order Type | Market, Limit, Stop, Stop Limit |
| Duration | Day, GTC, FOK, FAK, GTT, GTD, ATO |
| Account | Your linked Tradovate account |
| Quantity | Custom lot size |
To customize your order defaults:
- Open the Trading Panel and click Buy or Sell to bring up the order window.
- Adjust the parameters to your preferences and save them.
Risk Controls
You can configure risk controls directly within the order panel, including Take Profit (TP) and Stop Loss (SL) settings:
- Input values in dollars (e.g., $15) or percentages.
- Use the "$ Risk" field to calculate position size based on your risk tolerance.
- These settings must be applied when placing the order initially.
Important: Tradovate does not support adding TP or SL levels to an already active position through TradingView. However, you can modify existing TP and SL levels directly on the chart after the order is placed. Adding new risk controls to open positions is not possible.
Account Data Sync
The Trading Panel provides real-time updates on:
- Account balance
- Equity levels
- Open positions
- Order statuses
For accurate tracking, keep both TradingView and Tradovate open during your trading sessions.
Pro Tip: Regularly check that your orders and positions are displayed accurately on both platforms. If you spot any discrepancies, refresh the TradingView connection via the Trading Panel to sync the data.
Fix Common Problems
After setting up your platforms, you might experience a few hiccups. Here’s how to address them effectively.
Login Issues
If you're having trouble logging in, try these steps:
-
Add-on Configuration
Make sure the Add-on tools are enabled in Tradovate. -
Username Check
Verify that your Tradovate username starts with "dashboard". -
Browser Settings
Set your default browser in Windows Settings (Apps → Default Apps) and restart TradingView Desktop.
Data Sync Errors
To keep your data in sync across platforms, follow these tips:
-
Session Management
Stick to one active session at a time across Tradovate Web, Mobile, Desktop, and TradingView browser tabs. -
Data Agreement
If your data is delayed, log directly into Tradovate, sign the data agreement, and restart your session to refresh permissions. -
Chart Refresh
Log out of all sessions, then log back in using only one session per platform. Double-check the Tradovate add-on status if sync problems persist.
Getting Help
If the above fixes don’t work, gather the following details before reaching out to support:
- Your exact username
- The time and date the issue occurred
- Any error messages you received
- Steps you’ve already tried
Then, contact the appropriate support team based on your issue:
| Issue Type | Contact | When to Reach Out |
|---|---|---|
| Account Access | Tradovate Support | For login issues or account verification |
| Data Feed | Tradovate Support | For chart delays or missing market data |
| Add-on Problems | Your Account Provider | For subscription verification (APEX/Elite Trader accounts) |
Conclusion
Linking TradingView with Tradovate brings together advanced charting features and smooth trade execution. This integration allows you to manage your Tradovate account directly while benefiting from shared trading insights and analysis tools.
The following factors play a key role in ensuring your system runs smoothly and responds quickly:
| Performance Aspect | Impact on Trading |
|---|---|
| Network Stability | Ensures orders are executed reliably and data updates in real time |
| Platform Sync | Keeps positions accurately tracked across both platforms |
| Data Feed Quality | Delivers accurate market data for informed decision-making |
To keep the platforms aligned, focus on consistent settings and strong security measures. Using TradingView's charting capabilities alongside Tradovate's execution tools creates a solid trading setup that can handle different market scenarios.
To enhance your trading connection, consider building a reliable infrastructure with:
- Continuous platform uptime
- Low-latency network connections
- Automated backups
- Strong security measures
A stable TradingView-Tradovate connection is essential for efficient trading. Keep your platforms updated and regularly check your connection settings to ensure everything runs at its best.


